How to Install a Pet Net Without Drilling Walls
Introduction
Keeping our pets safe indoors or on balconies is essential, but not everyone wants to drill holes into their walls—especially renters or those living in apartments. Whether you’re trying to pet-proof a balcony, window, or open stairway, a no-drill pet net can be a perfect solution. In this blog, we’ll walk you through the easiest, damage-free methods to install a pet net without drilling, while keeping your furry friend safe and your home intact.
Materials You’ll Need
Before you begin, gather the following items:
- Pet safety net(custom size if possible)
- Strong adhesive hooksor 3M command hooks
- Cable tiesor twist ties
- Scissors
- Measuring tape
- Optional: Velcro strips or suction cups (for windows or glass)
Step-by-Step Guide to Installing a Pet Net Without Drilling
Step 1: Measure the Space
Use a measuring tape to measure the area where you’ll install the net—be it a balcony grill, window, or stairwell. Accurate measurements help you order or cut the right size net.
Pro Tip: Add a few extra centimeters on each side to ensure complete coverage.
Step 2: Choose the Right Hooks
Pick adhesive wall hooks that can handle at least 2–3 kg of weight. Look for waterproof, weather-resistant varieties if you're installing the net outdoors.
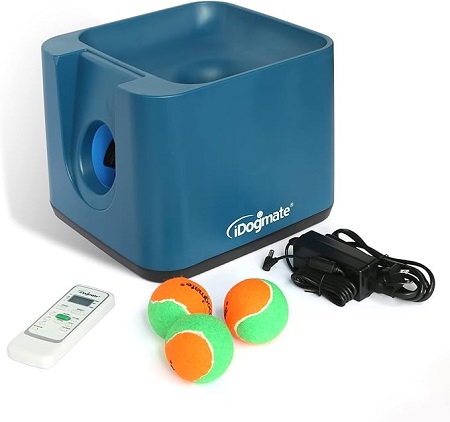
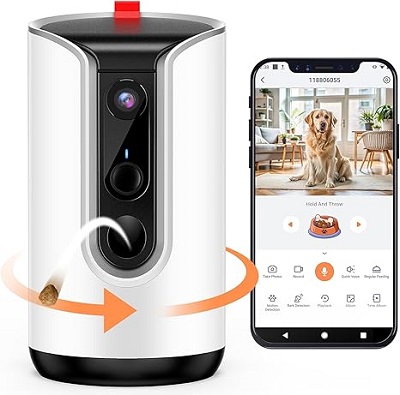
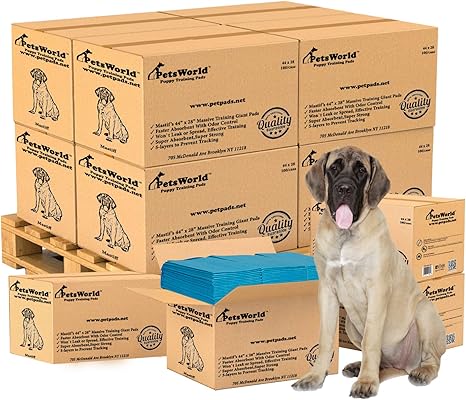
Essentials for Your Newly Adopted Pet
Welcoming a shelter pet into your life is a beautiful journey. Here are some handpicked items to help your new friend feel safe, loved, and right at home:
Avoid low-quality hooks—they may fall off under tension or weather changes.
Step 3: Clean the Surface
Use a cloth to clean the wall or railing where the adhesive hooks will go. This ensures maximum grip and prevents them from peeling off.
Step 4: Stick the Hooks Firmly
Peel off the adhesive backing and press the hooks firmly into place. Allow them to set for at least 24 hours before attaching the net to ensure strong adhesion.
Step 5: Attach the Pet Net
Once the hooks are secure, drape the pet net over the area and use cable ties or twist ties to fasten the net to the hooks.
- Tie it snugly to avoid sagging.
- Trim off any excess ties with scissors for a clean look.
Optional Step 6: Use Velcro or Suction Cups
If you're installing the net on glass or a window, consider using Velcro strips or suction cups for a cleaner, more adaptable installation.
Tips for Better Results
- For added strength, double up the hooks in high-stress areas.
- Use transparent hooks to maintain a clean aesthetic.
- Regularly check the net and ties to ensure they haven’t loosened.
Why This Matters: Emotional Safety for You and Your Pet
When you create a safe, enclosed environment without damaging your home, you protect your beloved pet from accidents—without risking your security deposit or altering your rental property. That peace of mind is priceless, especially for first-time pet parents or families with playful puppies and kittens.
Works in All Homes—Apartments, Rentals, or Temporary Setups
Whether you live in a high-rise apartment in Mumbai, a rented flat in London, or a condo in New York City, this no-drill method is universal, quick, and landlord-approved!
Conclusion
Installing a pet net without drilling walls is easier than you think. With adhesive hooks, cable ties, and a bit of planning, you can secure your space and give your furry companion the freedom to roam—safely. No tools. No holes. No stress.
Affiliate Products
We may earn a small commission when you shop through our links — it helps us keep sharing love and care for every dog out there, at no extra cost to you.
Up to 75% Discount

Dog Collar with Health Monitoring
BUY NOW »
Up to 55% Discount

Luxury Faux Furhuge Napping Bed
BUY NOW »