How to Make a DIY Dog Advent Calendar for the Holidays
Make a DIY Dog Advent Calendar for the Holidays
Introduction
The holiday season is a time of joy, celebration, and giving. This year, why not include your furry friend in the festivities with a DIY dog advent calendar It’s a fun and creative way to count down to the holidays, and your pup will love discovering a tasty treat or surprise each day. In this guide, we’ll walk you through how to create a simple yet delightful advent calendar tailored for your dog, ensuring the season is merry for everyone in your family.
What You’ll Need
-
Calendar Base:
- Options: You can use a pre-made calendar, a cardboard box, or even a wooden crate.
- Personalization: Choose one that matches your home decor or holiday theme.
-
Treats:
-
Homemade or Store-Bought: Select a variety of your dog’s favorite treats. Consider options like:
- Small biscuits
- Soft chews
- Freeze-dried meat treats
- Tip: Ensure all treats are safe and appropriate for your dog’s dietary needs.
-
Homemade or Store-Bought: Select a variety of your dog’s favorite treats. Consider options like:
-
Numbered Containers:
- Options: Use small bags, boxes, or even toilet paper rolls. You can also repurpose small jars or tins.
- Customization: Decorate them with festive wrapping paper, washi tape, or stickers.
-
Twine or String(if you’re hanging the calendar)
- This will be used to attach your containers if you decide to hang them.
-
Labels or Stickers:
- Use to number each container from 1 to 24 (or 25 for Christmas Day).
-
Decorative Elements(optional):
- Ribbon, festive stickers, or dog-themed ornaments to add a personal touch.
Step-by-Step Instructions
Step 1: Plan Your Calendar Layout
Essentials for Your Newly Adopted Pet
Welcoming a shelter pet into your life is a beautiful journey. Here are some handpicked items to help your new friend feel safe, loved, and right at home:
- Decide on a Theme: Choose a color scheme or design that reflects the holiday spirit.
- Determine Placement: Whether you’re hanging the calendar on a wall or placing it on a table, decide how you want it displayed.
Step 2: Prepare the Containers
- Decorate: Take your numbered containers and decorate them as desired. Use wrapping paper, paint, or markers to make each one unique and festive.
- Fill with Treats: Add a treat to each container. If you're using bags, ensure they're sealed tightly to keep the treats fresh.
Step 3: Assemble the Calendar
- Hanging Option: If you’re hanging the calendar, use twine or string to attach the containers in a festive arrangement. Ensure they are securely fastened and evenly spaced.
- Tabletop Option: If you’re using a box or crate, stack the containers creatively within it, ensuring the numbers are visible.
Step 4: Add Final Touches
- Personalize: Consider adding your dog's name or a holiday greeting to the calendar to make it extra special.
- Display: Place your DIY advent calendar in a spot where your dog can see it but not access it until the designated day.
Tips for Using the Advent Calendar
- Daily Ritual: Incorporate opening the calendar into your daily routine. It can become a cherished moment between you and your dog.
- Supervise Treats: Ensure that your dog doesn’t consume too many treats at once; moderation is key, especially if they’re high in calories.
- Mix It Up: For each day, consider varying the treats to keep things exciting for your dog. You might include a toy or a special activity, like a short walk, on certain days.
Conclusion
Creating a DIY dog advent calendar is a wonderful way to celebrate the holiday season with your furry friend. It’s not just a countdown to Christmas; it’s an opportunity to show your dog how much they are loved and appreciated. With a little creativity and planning, you can craft a delightful calendar that will bring joy to both you and your pup. Happy holidays, and may your days be filled with wagging tails and festive cheer!
Affiliate Products
We may earn a small commission when you shop through our links — it helps us keep sharing love and care for every dog out there, at no extra cost to you.
Up to 75% Discount

Dog Collar with Health Monitoring
BUY NOW »
Up to 55% Discount
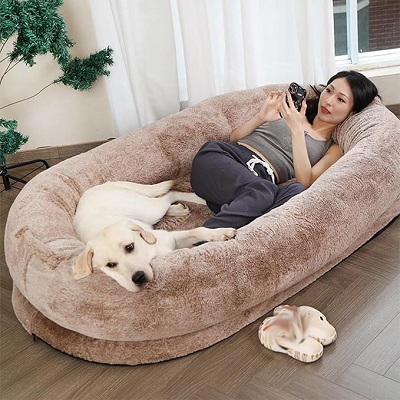
Luxury Faux Furhuge Napping Bed
BUY NOW »